
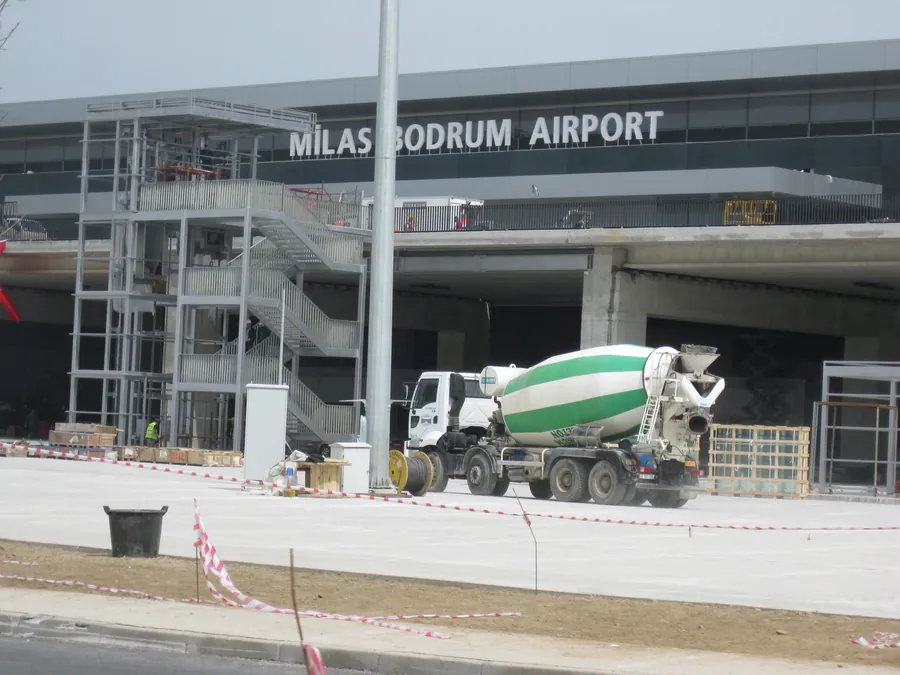
Warehouse, factory and logistics floors are the most heavily loaded surface in a building, and the one that generates the most complaints. A dusting floor, joints with broken edges and slabs that rock as a forklift passes usually have nothing to do with the strength class of the concrete and everything to do with three or four decisions taken on pour day: when the surface hardener was broadcast, when floating started, where and when the joints were cut, and how many days the curing lasted. On an industrial floor, strength is a necessary condition but not a sufficient one; what determines the life of the floor is the top few millimetres and the joint edges.
How Does Industrial Floor Concrete Differ from Ordinary Concrete?
An industrial floor is a reinforced concrete slab bearing directly on the ground. It differs from a slab supported on beams and columns in that it transfers its load to the ground beneath; its performance therefore depends on the quality of the layers below it before it depends on the concrete. The loads that come onto it are different from those on a building's floors as well: the repeated point loads of forklift and pallet truck wheels, the high point loads that rack legs concentrate on a small area, the distributed load of block stacking, and heavy plant and vehicle traffic from time to time.
This pattern of use demands three separate kinds of performance from the floor. The first is surface abrasion resistance: wheels, pallets and sweeping wear away the first few millimetres of the surface. The second is flatness: forklifts, particularly in high-bay systems, are very sensitive to the flatness of the floor; small deviations are magnified at mast height. The third is joint integrity: a floor's life usually ends not at its surface but at its joints.
There are differences on the mix side too. Keeping shrinkage low is the priority, because shrinkage produces both cracking and curling. To that end the water content is kept low, the coarse aggregate proportion high and the grading continuous. Steel or macro-synthetic fibres are widely used; fibre improves post-crack behaviour and in some systems allows the joint spacing to be increased. One critical and frequently overlooked rule is this: no air-entraining admixture is used in concrete that is to receive a dry-shake surface hardener. Entrained air collects beneath the hardener layer and causes the surface to separate as a crust, that is, to delaminate. If air entrainment is needed on external floors exposed to frost, a surface solution other than dry-shake is chosen.
The properties of surface screeds and floor screed materials are defined under TS EN 13813; when choosing a hardener, check the declared abrasion resistance and compressive strength in the product data sheet. The concrete's own strength and exposure class are ordered under TS EN 206. For the information you need to give when ordering, see our article on how to order concrete.
Sub-base, Thickness and Vapour Barrier
The layer beneath a floor slab is the slab's support. If the sub-grade is soft, poorly compacted or leaves local voids, the bending stress rises and the slab cracks, however good the concrete above it may be. The sub-base layer is laid in layers of well-graded granular material and compacted in a controlled way. The quality of compaction is verified not by eye but by a suitable field test.
The evenness of the sub-base surface is a separate matter: if the surface undulates, the slab thickness increases in places and decreases in others. Variation in thickness increases both the concrete consumption and the difference in shrinkage. Thickness is determined by calculation, from the service loads and the bearing capacity of the ground. Rather than saying “so many centimetres everywhere” on site, the areas with rack legs and heavy traffic routes are assessed separately.
In enclosed areas a polythene vapour barrier is laid beneath the slab; the aim is to stop moisture from the ground affecting the concrete and any covering laid later. The sheets are lapped at the joints and must not be punctured. A vapour barrier has one side effect: because it stops water escaping downwards, all the bleed water comes to the surface and finishing is delayed; and because the top surface dries while the underside stays wet, the tendency to curl increases. On pours over a vapour barrier, therefore, the floating times are watched more carefully and curing becomes more important still.
One practice to avoid is spreading a thin layer of sand over the sheet and pouring the concrete on top of it; the sand layer gets wet during the pour, behaves erratically and does not give the benefit expected. The sheet is laid over the compacted sub-base and the concrete is poured directly onto it.
The formwork and level references are also set up at this stage. A floor slab is a piece of work whose level cannot be corrected afterwards; the laser references, the edge forms and the width of the pour strips are planned before pour day. If the strip width is chosen wider than the area the finishing crew can keep up with, part of the floor is bound to be left too late.
Applying a Dry-shake Surface Hardener
A dry-shake surface hardener is a pre-blended mixture of cement, hard aggregate (quartz, corundum or metallic aggregate) and consistency-regulating admixtures. It is broadcast dry onto the surface of fresh concrete, wets out by absorbing the concrete's own bleed water, and is worked into the surface with a power float to form a hard top layer integral with the concrete. It is not a separate coating; it becomes part of the concrete itself. Its application must therefore be planned not as a separate trade but as an inseparable part of the pour.
Dosage. This varies with the intensity of use. Common practice is roughly three to five kilograms per square metre under light and medium traffic, and five to eight kilograms under heavy forklift traffic; the exact figure is given in the product data sheet and must be followed. Reducing the dosage thins the layer and leads to early wear of the surface.
Timing. This is the most critical variable of the whole application. The hardener is broadcast once the bleed water on the surface has completely disappeared. Broadcasting while a film of water is still present dissolves the material in the water, raises the water/cement ratio and leads to a weak, dusting surface. Leaving it too late prevents the material from wetting out; a hardener that stays dry does not become integral with the concrete and in time lifts as a crust. The practical criterion is that the floor has reached a hardness at which a footprint leaves a mark a few millimetres deep.
The broadcasting method. The material is applied in two stages: roughly two thirds of the total quantity in the first stage and the remainder in the second. Once the first stage has been broadcast, it is left to absorb water from the concrete and darken; when the darkening is even across the surface, it is worked into the surface with a power float fitted with a disc. The second stage is then broadcast, left to wet out, and floated again. Where possible the material is spread with a mechanical spreader trolley; with hand broadcasting the evenness of the spread depends entirely on the operative's skill, and differences in dosage show up on the surface as differences in colour and strength.
What must never be done: sprinkling water on the surface by hand because the hardener is not wetting out. The water sprinkled leaves a weak, dusting surface with a high water content in that area. If the material is not wetting out, the problem is one of timing; the answer is not to add water but to speed the application up. The same logic applies to the concrete itself: adding water to the mixer truck on site destroys the very thing the floor needs most, a low water/cement ratio. We explained this relationship in our article on the water/cement ratio and concrete strength.
Products with metallic aggregate give the highest abrasion resistance; however, because they can rust under moisture and water, they are not used in permanently wet areas or outdoors. With coloured hardeners the uniformity of colour depends on the consistency of the dosage; the same batch and the same dosage must be used throughout.
Floating Times and Delamination
Finishing an industrial floor follows a set sequence: the concrete is placed, brought to level with a laser screed or a straightedge, given its first correction with a wooden or magnesium float, the bleed water is waited out, the hardener is broadcast, it is opened up with a power float fitted with a disc, and then closed with a blade trowel.
Both ends of the timing are wrong. Floating too early draws water and fines to the surface; a layer rich in cement paste and low in strength forms on top, and that layer wears away quickly. Worse, when the surface is closed early the bleed water and air beneath it cannot escape; a thin layer of air and water is trapped just below the surface and the hardening top crust separates from the concrete below. This is called delamination; the floor sounds hollow within the first few months, then lifts piece by piece. Delamination is the most common surface defect on industrial floors and the most expensive to repair.
Floating too late, on the other hand, means the surface can no longer be worked. Once the concrete has hardened the machine cannot get onto the surface, the hardener does not become integral, the surface cannot be closed and the flatness cannot be corrected.
No single number of hours can be given for the right timing; the air temperature, wind, humidity, the mix and how much water the layer below absorbs all change it. On site the criterion is the state of the surface: bleeding has finished, a footprint is a few millimetres deep, and the machine can travel across without leaving a mark. On windy, hot days the surface dries faster than the body of the concrete; that gives a misleading impression of readiness and invites early floating. On such days, setting up a windbreak and using an evaporation retarder prevents both plastic shrinkage cracking and mistimed floating; you will find the detail in our article on pouring in hot weather.
Blade trowelling proceeds in stages: the blade angle is kept low at first and raised progressively as the surface hardens. Too high an angle too early leaves burn marks and unevenness on the surface. The size of the crew is part of the timing too; on a large pour, if the finishing crew is too small, part of the floor is bound to be left too late. The pour area must be divided to suit the crew's capacity.
Joint Layout: Contraction, Construction and Isolation Joints
A floor slab inevitably shrinks as it dries, and is restrained by friction against the layer beneath. Cracking is inevitable; the joint's job is not to prevent the crack but to determine where it will form. The three types of joint do three different jobs.
Contraction (control) joint. This is a line of weakness cut into the surface; the concrete cracks along this line, where the section is reduced. The cutting depth should be roughly between a quarter and a third of the slab thickness; a shallower cut lets the crack escape the joint. Timing is critical: with conventional diamond-saw cutting the window used is roughly six to eighteen hours after placing, while early-entry blades allow cutting within the first hours, as soon as the concrete can be walked on. Cut too early and the edges ravel; cut too late and the concrete opens its own crack somewhere at random, leaving the joint useless. For detail on the types of crack, see our article on concrete cracks.
Construction (day-work) joint. This forms at the limit of a day's pour, between two placements. It is formed with formwork, and if vertical load transfer between the two slabs is required, dowels are placed. The dowels are set perpendicular to the joint, parallel to one another and free to move on one side; a skewed or seized dowel creates a lock and opens a crack beside the joint.
Isolation (separation) joint. This separates the slab from everything that will not move with it: columns, walls, foundation bases, machine bases, door openings, and the edges of ramps and channels. Around columns the slab is separated as a square or diamond-shaped island, with a compressible filler strip placed in the gap. If this joint is omitted, diagonal cracks starting at the foot of the column are inevitable.
Joint spacing and panel geometry. Common practice is to keep the joint spacing at roughly twenty-four to thirty-six times the slab thickness; at typical thicknesses this corresponds to panel sizes of a few metres. Two rules matter as much as the spacing: the panel aspect ratio should not exceed 1.5, and panels should be square, or rectangles as close to square as possible. Do not create L- and T-shaped panels with a re-entrant corner; the re-entrant corner is where the crack jumps into the panel. The joint layout is planned together with the rack legs and the heavy traffic routes; it is preferable that a joint does not run directly beneath a rack leg or along the line the forklifts use most.
Joint filling. Under heavy traffic the joint edges break away under wheel impact. To prevent this, joints are filled with semi-rigid fillers (epoxy or polyurea based) that give the edge mechanical support. Silicone and low-hardness elastic sealants are not suitable for internal joints under heavy traffic, because they give the edge no support. Filling is left as late as possible, in the expectation that the slab has completed most of its shrinkage; a joint filled too early keeps opening and tears the filler away. The filler should fill a cleanly cut reservoir and finish flush with the surface.
Flatness and Levelness Tolerance
Two different concepts are confused on industrial floors. Flatness is the undulation of the surface over a short distance; it determines how much the forklift rocks, how much the load shakes, and the deviation at rack height. Level is the position of the surface relative to the design level; it affects drainage, the fit at door thresholds and how the racking system sits overall. The two tolerances are defined separately and measured separately; meeting one does not guarantee the other.
Flatness can be defined in two ways. The classical method is to measure the gap beneath a straightedge of a given length; specifications usually give the permitted deviation under a two- or three-metre straightedge. The more detailed method is to measure flatness and levelness numbers; these describe the floor's undulation and change of slope statistically, and are preferred for high-bay systems.
The racking layout is decisive here. In free-movement areas, where the forklift can travel in any direction, flatness matters equally in every direction. In defined-movement racking systems with narrow aisles, flatness along the aisle is subject to a far tighter tolerance; measurement is taken along the lines the wheels follow. When a floor specification is written, the equipment the operator is going to use must be known; a flatness requirement written before the equipment is settled produces either unnecessary cost or a shortfall that cannot be corrected afterwards.
Measuring flatness is time-sensitive. It should be carried out as early as possible, before the slab begins to curl. Curling is the lifting of the panel edges as the top surface of the slab dries faster than the underside and therefore shrinks more. Flatness measured on a curled slab shows the effect of drying, not the quality of the pour. Ways to reduce curling: a low-shrinkage mix, adequate slab thickness, even and uninterrupted curing, and not making the panels excessively large.
Flatness is won on pour day. A laser screed, correct level references, a sub-base of constant thickness and disciplined straightedging are both cheaper and more permanent than correcting the floor by grinding afterwards. Grinding a floor that has a hardener on it gives back part of the abrasion resistance you gained.
Curing: The Step That Decides the Hardener's Fate
On an industrial floor, curing is not an optional improvement but part of the application. The hardener layer at the surface is rich in cement; if it loses water, hydration is not completed, the layer does not gain its strength, and the floor begins to dust within the first few months. Curing also reduces the network of hairline cracks and curling by preventing the surface from shrinking too fast.
Curing begins the moment floating is finished; saying “we will look at it in the morning” means losing the most critical hours. There are three common methods, and the choice determines the floor's later fate:
- Curing compound (membrane): Sprayed onto the surface, it forms a film that slows water loss. It is quick to apply and practical over large areas. However, if a resin coating, paint or adhesive is to be applied to the floor later, the membrane will impair adhesion; in that case a removable type of curing compound should be chosen, or another method used.
- Curing under a covering: Moisture is held in by laying a dampened covering or polythene. Polythene laid directly on the surface can leave differences in colour where it creases; on floors with a coloured hardener that is conspicuous.
- Water curing: One of the most effective methods, but it must not be interrupted. A surface that is wetted and then allowed to dry out gives a worse result than one that was never wetted at all, because the repeated wetting and drying cycle cracks the surface.
The curing period varies with the weather and the mix, but should not be reduced below a few days; in cold weather it is longer. Even once curing is complete the floor is not opened to full traffic straight away; early traffic leaves permanent marks on a surface that has not yet reached its strength. The programme for opening to traffic is planned according to the weather at the time of the pour and to strength gain.
Protecting the floor during curing must not be forgotten either: stacking material on it, welding on it, spilling oil and chemicals all leave permanent stains and damage at the period when a new floor is at its most vulnerable. On floors poured in winter, curing and protection are planned together; for detail see our article on cold-weather precautions.
What Determines Service Life under Heavy Forklift Traffic
The life of an industrial floor is managed after the work is finished too. Most of the deterioration we see on site falls under the following five headings.
- Joint edge breakdown. A heavy wheel strikes the edge as it crosses from one side of the joint to the other. If the edge is unsupported it breaks away piece by piece, and the joint gradually widens into a pothole. The remedy is a semi-rigid joint filler of the correct hardness, checked and renewed regularly. This is the most neglected item of maintenance, and the most expensive one to neglect.
- Voids forming beneath the slab. If curling, or washing out of the layer below, leaves a void under the panel edges, the slab moves slightly under a wheel. That movement quickly breaks the joint edge and in time produces cracks. Diagnosed early, support can be restored by injecting a filler beneath the slab.
- Surface wear and dusting. This is seen where the hardener dosage is inadequate, the floating poor, the curing incomplete, or where no hardener has been applied at all. Sand and dust particles collecting on the surface act like an abrasive under the wheels and accelerate wear; regular cleaning is therefore a direct life-extending measure.
- Wheel type and traffic layout. Hard polyurethane and steel wheels treat the surface and the joint edges far more harshly than soft cushion tyres. Constant use of the same route concentrates wear on a single line; where possible the traffic route is changed from time to time, or the busiest lines are designed thicker and to a higher specification from the outset.
- Water, oil and chemicals. Water standing on the surface seeps through the joints into the layer below and destroys the support; oil and some chemicals attack a cement-based surface. Falls and drainage are an invisible but decisive part of the floor.
The maintenance list that extends a floor's life is short and cheap: inspect the joint fillers at least once a year and renew any that have torn or come away; sweep the floor regularly; get rid of standing water; replace forklift wheels that show excessive or uneven wear; and before installing new racking or machinery, have the point loads checked against the design of the slab.
On an industrial floor the concrete determines only part of the outcome; but a good job cannot be done with the wrong mix. To plan the strength class, consistency and fibre selection to suit your service loads, your joint layout and your hardener application before pour day, talk to the Bodrum Beton technical team, and see the concrete classes available on our products page.
Frequently asked questions
Is a surface hardener essential on industrial floor concrete?
It is not compulsory; but wherever there is forklift and pallet traffic it lengthens the life of the floor markedly. On floors without a hardener the surface wears faster and dusting appears. Resin or cement-based coatings can be used as an alternative; these are a separate trade and require the concrete beneath to meet flatness and moisture conditions.
The surface hardener is not wetting out; can I sprinkle water on it?
No. The water sprinkled raises the water/cement ratio in that area and leaves a weak, dusting surface. Material that does not wet out shows that the timing has been missed; the answer is not to add water but to get the broadcasting and floating times right and, if necessary, to increase the size of the crew and divide the pour area.
What should the joint spacing be, and how do I decide?
Common practice is to keep the spacing at roughly twenty-four to thirty-six times the slab thickness. Panel geometry matters as much as the spacing: the aspect ratio should not exceed 1.5, panels should be close to square, and L- and T-shaped panels should not be created. The exact layout is designed together with the thickness, the use of fibres, the racking layout and the traffic routes.
When should I cut the joints?
With conventional diamond-saw cutting, the window used is roughly six to eighteen hours after placing; with early-entry blades the concrete can be cut as soon as it can be walked on. Cut early and the edges ravel; cut late and the concrete opens its own crack at random. The cutting depth should be between a quarter and a third of the slab thickness.
The floor sounds hollow and the surface is lifting in places; what is the cause?
This is a classic sign of delamination: the surface was closed too early, air and bleed water were trapped beneath it, and the hardening top crust has separated from the concrete below. The main causes are starting to float far too early, using air-entrained concrete, and being misled by a surface that dries deceptively early in windy weather. Repair means removing the delaminated areas and re-doing them.
When should I fill the joints, and can I use silicone?
Filling is left as late as possible, in the expectation that the slab has completed most of its shrinkage; a joint filled too early keeps opening and tears the filler away. For internal joints under heavy traffic, silicone and low-hardness sealants are not suitable because they do not support the edge; semi-rigid epoxy or polyurea based fillers are preferred.
Related articles
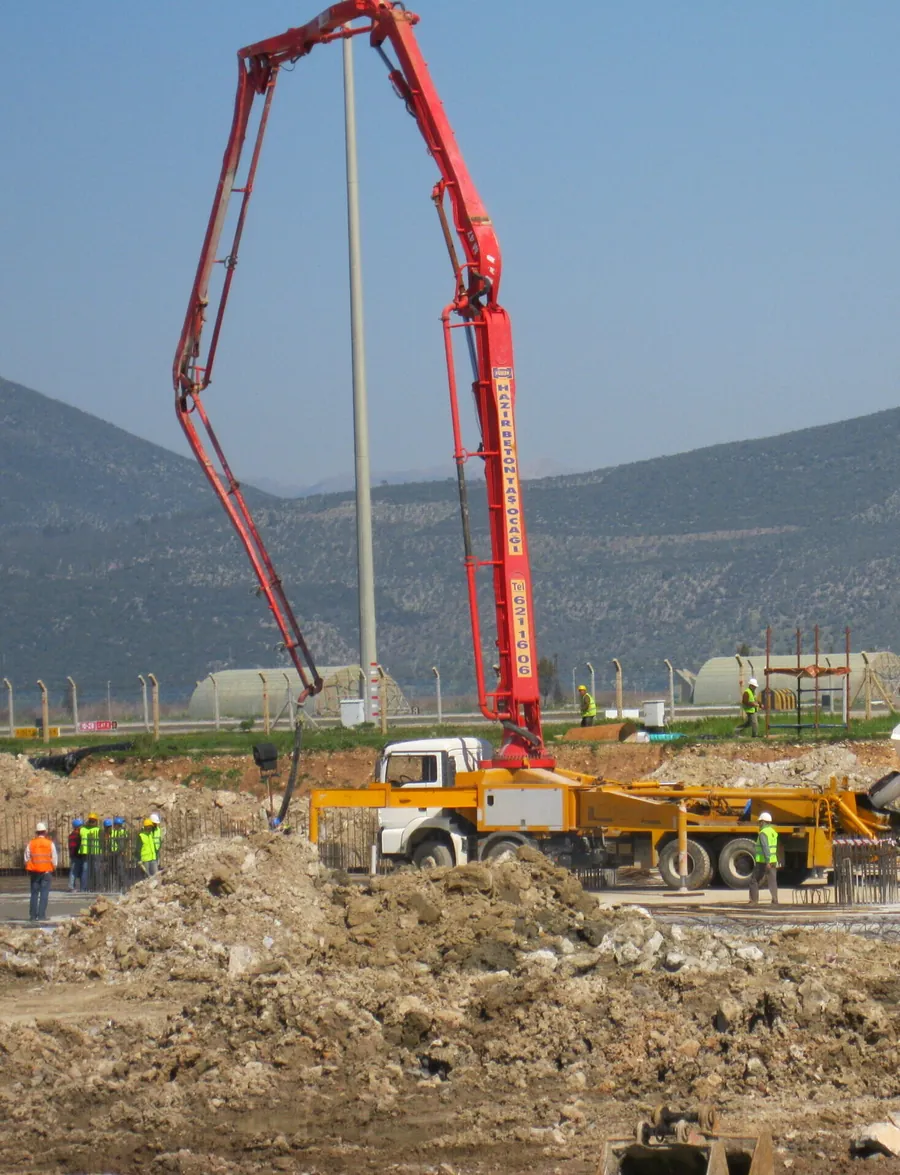
Choosing a Concrete Pump: Boom, Line Pump and the Access Plan

Formwork Striking Times: When to Strike, and the Risk of Early Loading
Concrete Cracks: Types, Causes and Ways to Prevent Them
Concrete Consistency Classes: The Slump Test, S1-S5 and Pump Concrete
Pouring Concrete in Winter: Cold-Weather Precautions and Freezing Risk
Water/Cement Ratio: Why Does Excess Water Weaken Concrete?
How to Order Concrete: m³ Calculation, Pump Selection and Pour Day
What Is Concrete Curing? A Guide to Hot-Weather Pouring and Curing
Need concrete for your project?
Contact our sales team for mix design, delivery planning and a price quote. Fast delivery from our Milas / Muğla plants to the Bodrum, Milas, Ören and Güllük line.